Whenever fields require a date, you can enter a date in the field or use the  button to select a date from the calendar. To enter a date, you must enter it in the format configured by your system administrator. If you are unsure of the format, you can use the calendar to select a date.
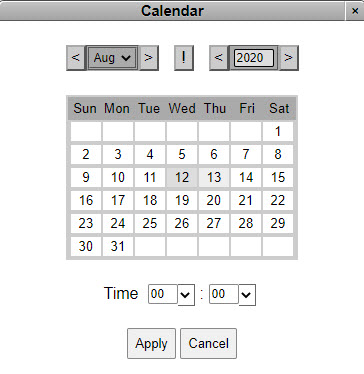
Some date fields also enable you to enter a time. When you use the calendar on these fields, a time selector also appears:
If there is a duration icon ( ) next to the calendar icon, you can enter/select a duration
|
Hint There are two different ways that the calendar and duration widgets appear: • • |

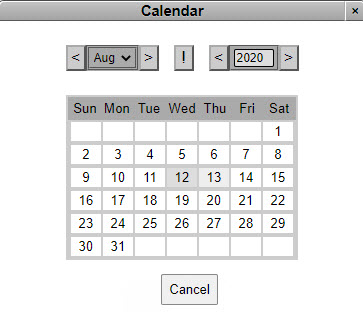
To add a date using the calendar:
1.Click next to the appropriate date field.
The Calendar dialog box appears with the current date selected.
2.If you are selecting:
▪A date in the current month: Select the day.
▪Any other date: Use the calendar buttons to select the month and year, and select the day. You can also use the month dropdown to select the appropriate month.
Button |
Description |
||
|
Go back one month/year. |
||
|
Go forward one month or year. |
||
|
Select the month. |
||
|
Reset the date in the Calendar dialog box to today's date.
|


oIf the field does not allow time selection, the dialog box closes and the date appears in the date field. You have completed this procedure.
oIf the field allows time selection, go to Step 3.
3.If the date field is enabled for time selection, optionally select the hour and minute from the time selection dropdown lists.
Times use the format hh:mm:ss. The minute dropdown contains options in 15 minute intervals (00, 15, 30 and 45). You can specify a different minute by entering the value directly into the 'Time' field. Since you can only select the hour and minute, 00 is inserted for the seconds. You can edit any time-based information in the 'Relative Date' field once you have applied your date/time selection.
If you do not enter the time, 00:00:00 (midnight) will be used.
4.Click 'Apply'.