You can customize messages with tags. Tags are placeholders for specific, stored information about the message recipient and behave similarly to the mail merge functionality in Microsoft Word. By adding tags, the message will contain personalized information relevant to the recipient. For example, you can customize the message so that the salutation includes the recipient's name ("Hello, Margaret Fisher").
Fields that have been added as result members to the 'Send To' BI can also be inserted.
To insert tags into your message:
1.Open Correspondence from the Desktop.
2.Select the Messages tab.
The Messages|Search page appears.
3.Search for and select the message that you want to work with.
The Messages|Basic page appears.
4.Select the Build tab.
The Messages|Build page appears.
5.Place the cursor where you want to insert the tag.
6.Click 'Insert Tags'.
The Tag Selection selection box appears.
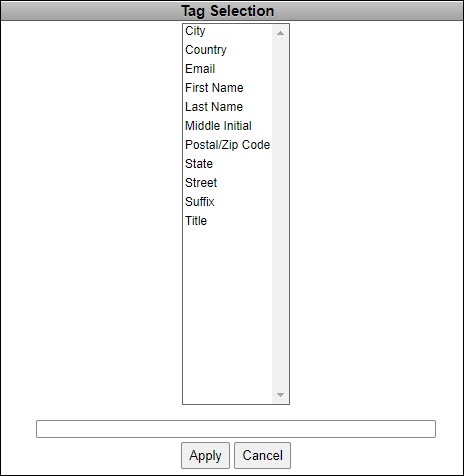
7.Select the tag that you want to insert.
8.Click 'Apply'.
The tag is inserted in the message.
9.For every tag that you want to add, complete the process from Step 4.
10.Click 'Apply'.
A window confirms that the message was updated.
11.Click 'OK'.
|
Caution You cannot use a background colour with tags. Doing so will cause an XML validation error. |
