Attributes enable you to control the fields that are displayed to the user (expose marketing or data fields to a group). You can achieve the same effects using the Registry; however, using the Group|Attributes page enables you to control fields for a group of users.
The following image illustrates the Application Security - Group|Attributes page:
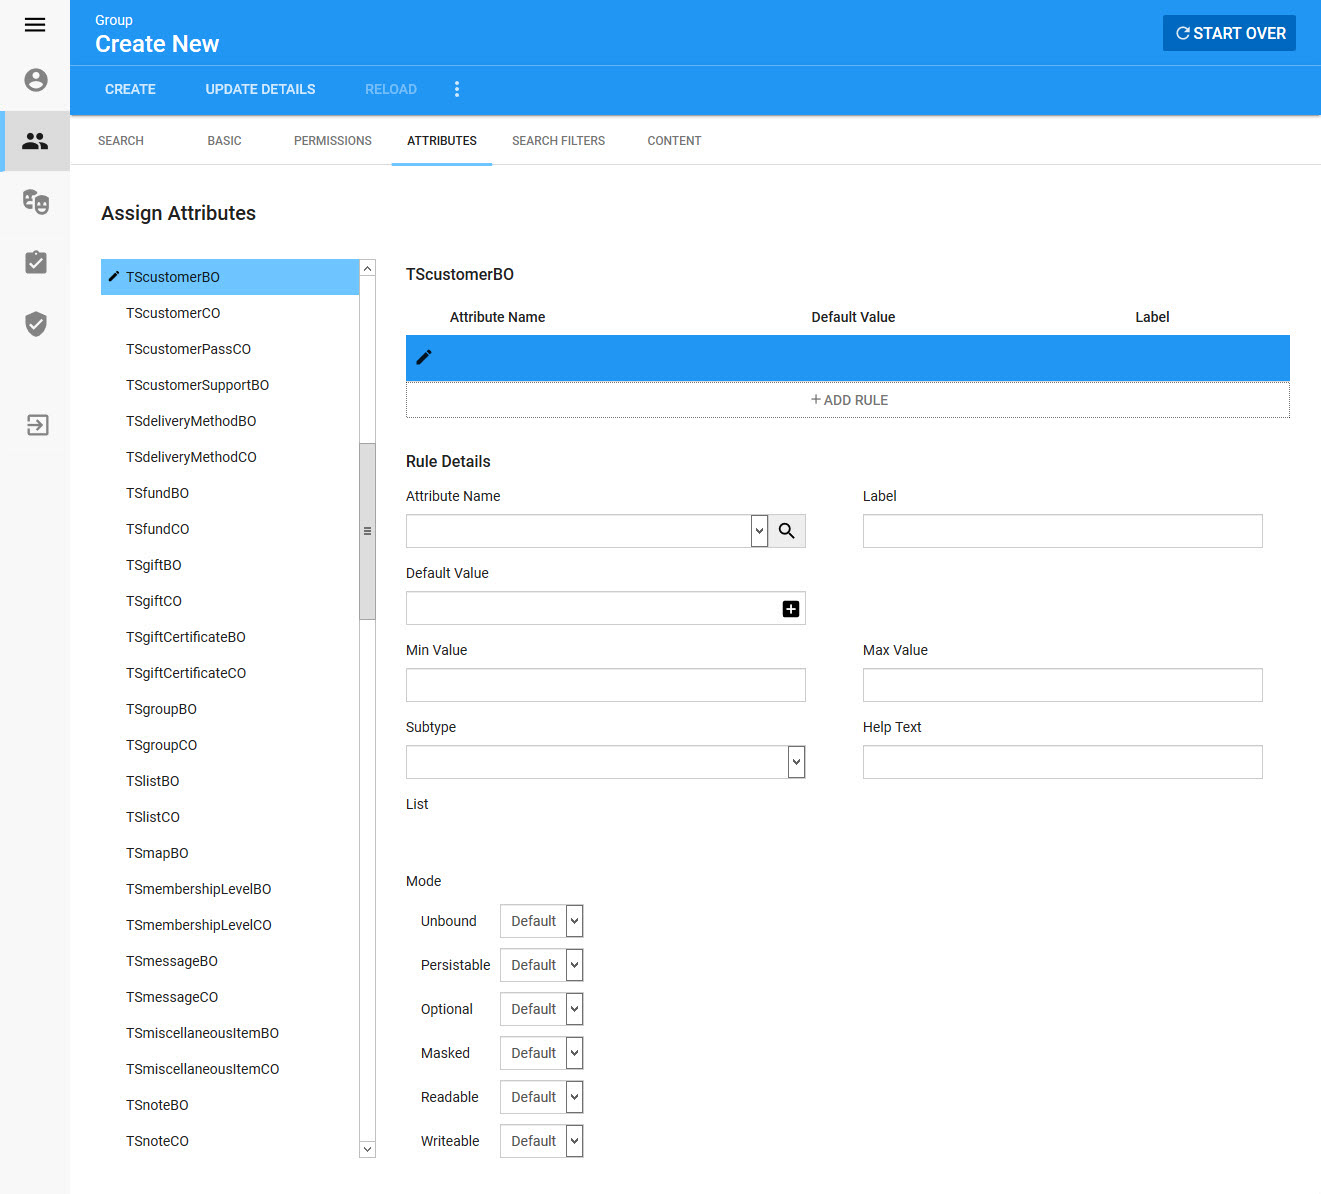
The Application Security - Groups|Attributes page contains the following properties after the 'Add Rule' button is clicked:
Field |
Description |
|
Select the check box and click 'Update Details' to delete the rule. |
Attribute Name |
Select the attribute (field) that you want to use. If the dropdown is empty, click |
Label |
Enter a name for the selected field that will appear to the group in the application (naming a data field). |
Default Value |
Enter/select a value to set a default value for the selected field. The available options vary by attribute. |
Min Value |
Enter a minimum value for the selected field, if applicable. |
Max Value |
Enter a maximum value for the selected field, if applicable. |
Subtype |
Subtypes can alter the way data is presented or to validate that the information entered is in a correct format. The following subtypes are available, however not all are available for all fields: •Appeal: Makes the field an 'Appeals' field ( •Article: Makes the field an 'Articles' field ( •Benefits: Makes the field a 'Benefits' field ( •Bundle: Makes the field a 'Bundles' field ( •Campaign: Makes the field a 'Campaign' field ( •Colour: Makes the field a colour selection field ( •Compressed Multi: Information enter into a compressed multi field is stored to the database using a compressed format. •Customer: Makes the field a 'Customers' field ( •Date: Makes the field a date field ( •DateTime: Makes the field a date/time field ( •Day of Week: Makes the field a day of the week field, allowing you to enter a day of the week (Monday, Tuesday). •Duration: Makes the field a date/duration field ( •Duration Date Only: Makes the field a duration field ( •Email: Makes the field an email address field ( •Event: Makes the field a 'Events' field ( •File Name: Makes the field a file name field, validating that the file name contains an acceptable file extension. •Fixed Value Rate: Makes the field a fixed value field. Values entered in these field must be fixed monetary values to two decimal places. •Fund: Makes the field a 'Funds' field ( •Gifts: Makes the field a 'Gifts' field ( •Google Tracking ID: Sets the field as a Google analytics account number. •Hashtag: Sets the field as social media hashtag. •Image URL: Makes the field an image URL field ( •Info URL: Makes the field a URL field ( •Membership: Makes the field a 'Memberships' field ( •Membership Level: Makes the field a 'Membership Level' field ( •Miscellaneous Item: Makes the field a 'Miscellaneous Items' field ( •Multi-Email: Makes the field an email address field ( You can enter multiple email addresses by pressing ENTER or TAB after each one, or copying/pasting a number of address separated by semicolons (;). •Order: Makes the field an 'Orders' field ( •Organization: Makes the field an 'Organization' field ( •Password Subtype: •Payment Account Number: •Percentage Rate: Makes the field a percent based field. Values entered in these fields must be followed by a % symbol. •Phone Number: Makes the field a phone number field. The field will validate that the phone number does not contain alpha characters. •Postal Code/Zip Code: Makes the field a postal/zip code field. The field will validate against the selected country's postal/zip code format. •Price Chart: Makes the field a 'Price Charts' field ( •Program: Makes the field a 'Programs' field ( •Promotional Code: Makes the field a 'Promotion' field ( •Question: Makes the field a 'Question' field ( •Rich Text: Makes the field a rich text field, allowing you to apply some limited formatting (bold, italics underline). •Saved Lists: Makes the field a 'Saved List' field ( •Settlement: Makes the field a 'Settlement' field ( •Standard: Makes the field a standard field, allowing you to enter any value into the field. Leaving the 'Subtype' blank will have the same effect. •Subtype Mode: Sets the Yes/No/Default mechanism used with Registry subtypes. •Time: Makes the field a time field, allowing you to enter exact times of day (10:15 AM, 14:23). •Twitter Account: Sets the field as a Twitter account handle. •User: Makes the field a 'Users' field ( •Venue: Makes the field a 'Venue field ( |
Help Text |
This field is not currently in use. |
Mode |
Specifies the accessibility of this marketing data field. The mode options are: •Unbound: Specifies whether the field is bound to the specified list (No) or enabled for users to enter their own value (Yes). •Persistable: Specifies that the field information can be saved to the database. •Optional: Specifies whether the field is optional. •Readable: Select Yes to enable users to see this field on their interface. •Writeable: Select Yes to enable users to set a value for this field. •Masked: Select Yes to enable data masking. You must then specify how to mask the data using the 'Mask' field.
The three possible settings are: •Default: The generally anticipated use of the field. •Yes: The field option is active ('Optional' set to Yes indicates an optional field). •No: The field option is not active ('Optional' set to No indicates a mandatory field). |


