The following image illustrates the Application Security - Roles|Basic page:
User Role Section
The following image illustrates the User Role section of the Application Security - Roles|Basic page:

The User Role section of the Application Security - Roles|Basic page contains the following properties:
Field |
Description |
||||
Name |
The user role name. |
||||
Description |
The description of the user role. |
||||
Displayed Label - English |
The name that is displayed to customers. If you use multiple languages, you can add a name for each language. |
||||
Email From Address |
The email address that any correspondence will be sent from for the role. |
||||
Role Group |
The group associated with the role. |
||||
Offer Time Out |
The amount of time that the user role has to complete an order before an offer times out and the seats become available again. This is particularly important online. The defined 'Offer Timeout' values override each other in the following order: 1.The Event Configuration - Events|Calendar page 2.The Application Security - Role|Basic page 3.The Registry - Registry::EN::Session::Offer Timeout node
Click |
||||
Reservation Time Out |
The predetermined length of time from the reservation creation date that offers will remain available for the role. For example, entering +1D would hold the offer for one day from the reservation creation date/time. Click The time/date defined by the role will be overridden by any other 'Reservation Time Out' settings placed on an event. |
||||
Reservation Valid Until |
The predetermined length of time from the event start date that offers will remain valid until. For example, entering -1D would release the offer one day before the event's 'Start Date/Time'. This prevents seats from being held 24 hours before to event. Click The time/date defined by the role will be overridden by any other 'Reservation Time Out' settings placed on an event. |
||||
Card Failure Limit |
The predetermined number of times that a credit/debit card transaction can fail for the role. This is set to 6 by default. Do not increase it for online roles. |
||||
Use Username as |
What, if anything, customers will be forced to use as their user names: •E-mail: Forces the user to use email address associated with the account as the username. •Home Phone: Forces the user to use home phone number associated with the account as the username. •Mobile Phone: Forces the user to use mobile phone number associated with the account as the username. •Work Phone: Forces the user to use work phone number associated with the account as the username.
If you select one of the options above, the following .asp labels should be reconfigured: oUsername should be changed to the appropriate option on the login.asp and forgotpassword.asp pages. oEmail Address should be changed to Confirm Email Address on theforgotpassword.asp page.
|
||||
Best Available Max Seats per Row |
The maximum number of seats that will be allowed per row when using best available.
For example, if this value is 5 and an Online user requests 24 seats, best available will return four rows of five seats and one row of four seats.
If this field is empty best available returns all of the seats in single row.
Desktop users can override this value using the Customer Services - Events|Best Available page's 'Number of Rows' field. |
||||
Best Available Inventory |
Which seats best available will look at when making selections: •Open and Held: Best Available will have access to both open and held seats. This would be the default for any partner-based role. •Open Only: Best Available will only look at open seats (unsold and not on hold). This is the default setting/behaviour. •Held Only: Best Available will only look at seats that are on hold. For example, if a hold is used to for an exclusive partner-based presale, holds can be used to create exclusive listings |
||||
Desktop Article |
The article that will be displayed on the Desktop if a dashboard has not been selected. By default, the Default Dashboard Article is displayed if a dashboard has not been selected. Click |
||||
Default Dashboard |
The default dashboard that will appear on the Desktop. Once a dashboard report has been saved, it will appear in this dropdown. The 'Default Dashboard' can also be set using the Application Security - Users|Basic page or clicking |
||||
Default Price Type |
The default price type that the role can sell (if Adult is selected then, by default, the Adult price type will automatically be selected for the user). If you set a default price type, online customers will only be able to purchase that price type. |
||||
Default Payment Method |
The default payment method defines the types of payments that a particular role can except (if Cash is selected then, by default, the Cash payment method will automatically be selected for the user). |
||||
Default Delivery Method |
The default delivery method defines the ways in which the role can deliver tickets to customers (if Window Sales is selected then, by default, the Window Sales delivery method will automatically be selected for the user). If you set a default delivery method, ensure that the delivery method is available to everything you want to sell online. Otherwise customers will not be able to complete their purchases. |
||||
Options |
The options that the role can: •Allowed To Leave Single Seats: The role will be able to leave a single seat available within a row/section of sold seats. •Skip Pass ID Photo Requirement Errors: The role will be able to create orders when customers are missing ID photos for their memberships. A warning message will appear instead of an error. The warning can also be suppressed. •Display Per Ticket Charges on Seat Selection: The role will be presented with the per ticket charge values when selecting seats. •Enable Add-On: The role will be presented with any add-on articles/items that have been associated with the selected items, and must be explicitly dismissed by the user. Add-on article/item links will still be available if this option is not selected, but the user must click on the available links to view the article/item. •Enable Upsell: The role will be presented with any upsell articles/items that have been associated with the selected items, and must be explicitly dismissed by the user. Upsell article/item links will still be available if this option is not selected, but the user must click on the available links to view the article/item. •Exchange Unbalanced Orders: The role will be able to complete exchanges on orders that already have or will have a negative balance after the exchange. •Manage Over Caps: The online role will be able to exceed limits while adding items to an order. Once in the shopping cart, the excess items must be assigned to customers in the user's contacts list before the order can be completed. •No Access to Open Seats: The role will not be able to sell/purchase open seats, and will only be able to sell/purchase seats that are on hold. •Send Customer Creation Email: The role will send an email to the address associated with an account when the account is created. •Skip Cancelling Tickets When Changing Printed Order Item Customers: The role will not cancel a printed ticket if the only change to the order is the customer assignment. |
||||
Allowed Address States |
The default address states that the role can accept and complete an order: •Not Verified: The user has not attempted to verify the address (the user did not click on the Lookup Address button after entering the address). If this state is selected here, the user is allowed to save addresses that have not been checked. This state is selected by default. If a verified address is updated, the address state returns to Not Verified.
•Verified: The user attempted to verify the address, and the address was found to be valid. If this state is selected here, the user is allowed to save addresses are deemed to be valid. •Not Applicable: The user attempted to verify the address, but it could not be verified (address is located in a country not covered). If this state is selected here, the user is allowed to save addresses that cannot be verified. •Invalid: The user attempted to verify the address, but it was found to be invalid, and the user did not correct it. If this state is selected here, the user is allowed to save addresses that have been deemed to be invalid.
When the entered address does not match the credit card holder’s address, the transaction might be declined or authorized by the payment processor. If it is authorized, the gateway’s AVS settings in AudienceView Unlimited are enforced. If the settings do not allow mismatched addresses, a reversal request is sent to the gateway. These payments might appear in the customer’s online credit card statement under Pending or Authorized Transactions. After a day or two (depending on the bank), the declined transaction will be removed from the statement completely, and the amount will never be added to the credit card total. To help reduce customer confusion, you can update the generic, default messages in the Registry - Registry::EN::Alerts::Info node: •2013: The CVV is incorrect. •2014: The addresses do not match. •2015: The CVV is incorrect, and the addresses do not match. |


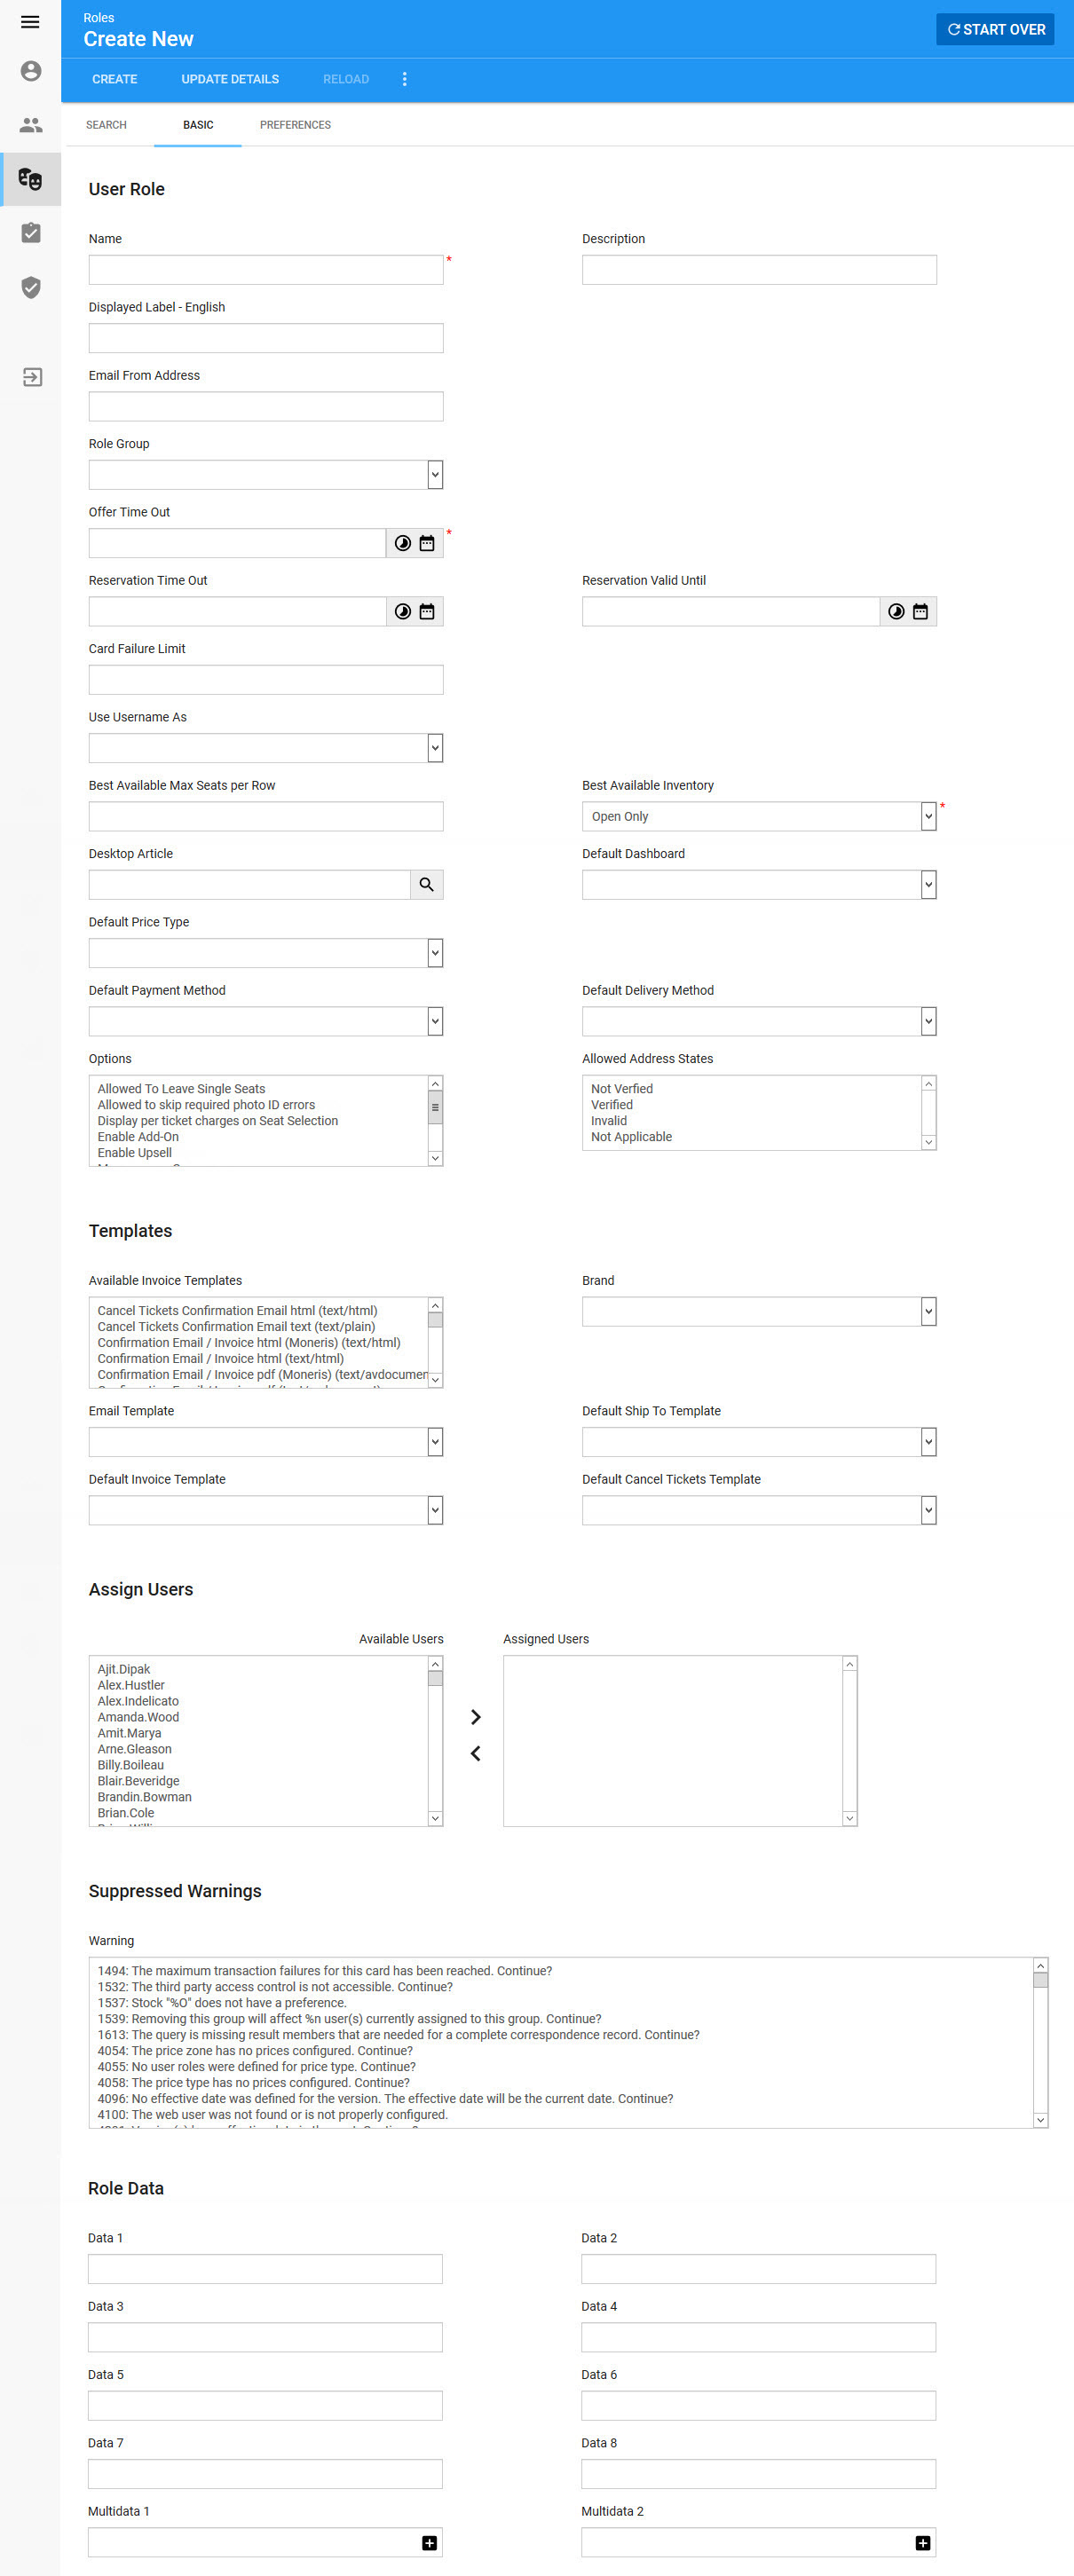
Templates Section
The following image illustrates the Templates section of the Application Security - Roles|Basic page:
The Templates section of the Application Security - Roles|Basic page contains the following properties:
Field |
Description |
Available Invoice Templates |
The Confirmation Email templates that are available to the role: •Confirmation Email / Invoice (text/avdocument): Creates a PDF version of the invoice. •Confirmation Email / Invoice (text/html): Creates an HTML version of the invoice. •Confirmation Email / Invoice (text/plain): Creates a plain text version of the invoice. |
Brand |
The branding that will be used for the Order Confirmation Email and Confirmation Email / Invoice templates for the role. Brands are defined in the Registry. For more information, refer to Configuring Email Confirmation Styles and Brands. If a brand is not selected nor configured, the default branding will be used. |
Email Template |
The default Order Confirmation Email that will be sent by the role: •Order Confirmation Email (text/avdocument): Creates a PDF version of the order confirmation. •Order Confirmation Email (text/html): Creates an HTML version of the order confirmation. •Order Confirmation Email (text/plain): Creates a plain text version of the order confirmation.
The default Order Confirmation Email can also be set globally via the Registry. For more information, refer to Setting Confirmation/Invoice Templates.
This setting typically does not need to be changed. Contact your customer success manager before making any changes. |
Default Ship To Template |
The default Ship-To Confirmation email that will be sent by the role: •Order Confirmation Email Ship To (text/html): Creates an HTML version of the ship-to order confirmation. •Order Confirmation Email Ship To (text/plain): Creates a plain text version of the ship-to order confirmation.
The default Ship-To Confirmation can also be set globally via the Registry. For more information, refer to Setting Confirmation/Invoice Templates. |
Default Invoice Template |
The default Invoice Email that will be sent by the role: •Confirmation Email / Invoice (text/avdocument): Creates a PDF version of the invoice. •Confirmation Email / Invoice (text/html): Creates an HTML version of the invoice. •Confirmation Email / Invoice (text/plain): Creates a plain text version of the invoice.
The default Order Confirmation Email can also be set globally via the Registry. For more information, refer to Setting Confirmation/Invoice Templates.
This setting typically does not need to be changed. Contact your customer success manager before making any changes. |
Default Cancel Tickets Template |
The default Cancel Tickets Confirmation Email that will be sent by the role: •Cancel Tickets Confirmation Email (text/html): Creates an HTML version of the cancellation email. •Cancel Tickets Confirmation Email (text/plain): Creates a plain text version of the cancellation email.
The default Order Confirmation Email can also be set globally via the Registry. For more information, refer to Setting Confirmation/Invoice Templates. |
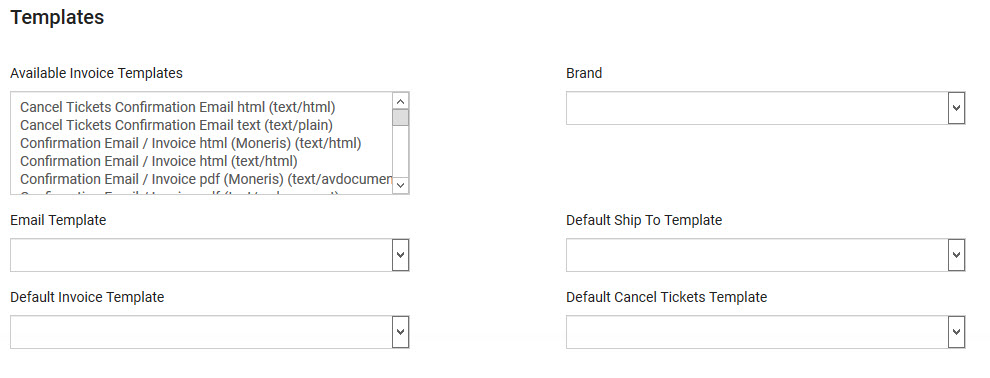
Assign Users Section
The following image illustrates the Assign User section of the Application Security - Roles|Basic page:
The Assign User section of the Roles|Basic page allows you to assign specific user's to the current role. To assign an available user to a role, select the users from the Available Users list and click '>' to move them to the Assigned Users list. To remove a user from the Assigned Users list, select the user and click '<'.
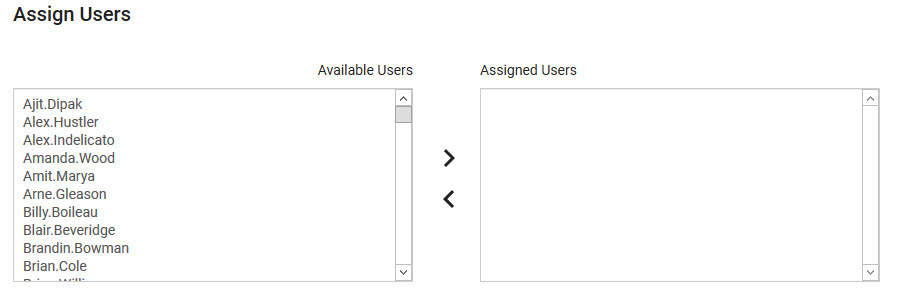
Suppressed Warnings Section
The Suppressed Warnings section allows you to prohibit certain warning messages from appearing for a particular role. For example, by default if an order is unpaid, users must enter a reason. Suppressing the warning enables users to create an unpaid order without entering a reason.
The following image illustrates the Suppressed Warnings section of the Application Security - Roles|Basic page:
If your list of suppressed warnings exceeds the maximum list size set in the Registry - Registry::EN::Application node's 'Max List Size' field, the  icon will appear next to list.
For more information, refer to Suppressing Warning Messages.
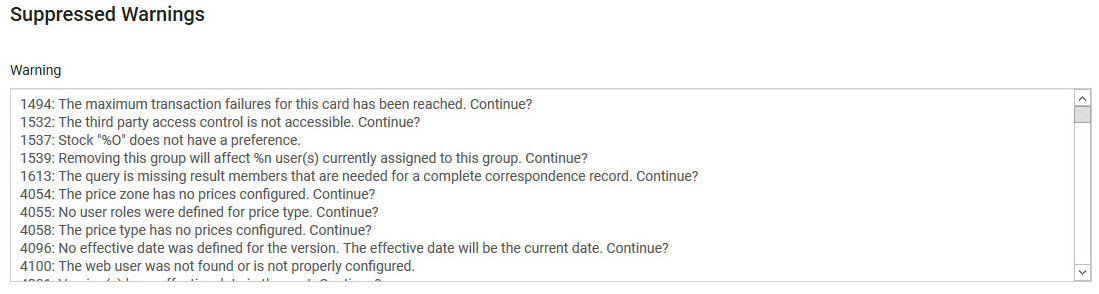
Role Data Section
The following image illustrates the Role Data section of the Application Security - Roles|Basic page:

The Role Data section of the Application Security - Roles|Basic page contains the following properties:
Field |
Description |
Data [1-8] |
Store additional information specific to your organization. Any data entered into these fields is searchable through Business Intelligence. To modify a data field label, navigate to the Registry - Registry::EN::Business Objects::TSuserRolesBO::User Role node and select the field that you want to re-label. |
Multidata [1-2] |
Store additional information specific to your organization. Click Any data entered into these fields is searchable through Business Intelligence. To modify a multidata field label, navigate to the Registry - Registry::EN::Business Objects::TSuserRolesBO::User Role node and select the field that you want to re-label. |
